Friday, February 25, 2011

Painting Elective 2 weeks

The group collected items that we created an installation with.  We then proceeded to make compositions based on these.   Once the composition was right begin painting.  Acryllics only, and NO BLACK..........!

Speed painting bootcamp....................and the results?


Life study

An ugly mannequin


Self portrait


Weekend project - Paint one of Vermeers and one of Lucian Freuds paintings, copying stroke, application and use of tone. With acrylic and NO Black. (And two days to do it)

Freud copy

The girl in the pearl earing unfinished...maybe I will have time to finish it over the summer

Week one was enjoyable but the second week was pretty much a chore.
Saturday, January 22, 2011

Vis Comm Elective - 2 weeks

Week 1

We were given a word and were asked to explore it through Typography.  Visually, the word should not need interpretaion but speak for itself.

My word:  Success


Gold chain link
Diamond 

Week 2

Continuing with the same word, express it visually.
Gold Bullion, engraved with lettering "Success"

Sweet Success


The Mona Lisa with a mega smile, she is more of a success than the artist.


"Success" on a plate
We were asked to find something at home that represented our word - sorry it was joggled around a bit!

Saturday, January 8, 2011

Artist Statement

I have been focusing on objects in the landscape that are affected by light.  The sharp detail and contrast that is a result of this light source renders the subject completely changed – creating a mood or tone which as a result creates something beautiful that would otherwise be dull.
Initially I captured images by photographing them, specifically, the new canvas covering to the Milk Market and the drainage area.  This gave me great contrasting images and shapes with dynamic perspective.  Isolating specific details resulted in these abstracted “objects” becoming something more than just form and function. 

Maria Keenaghan

3D

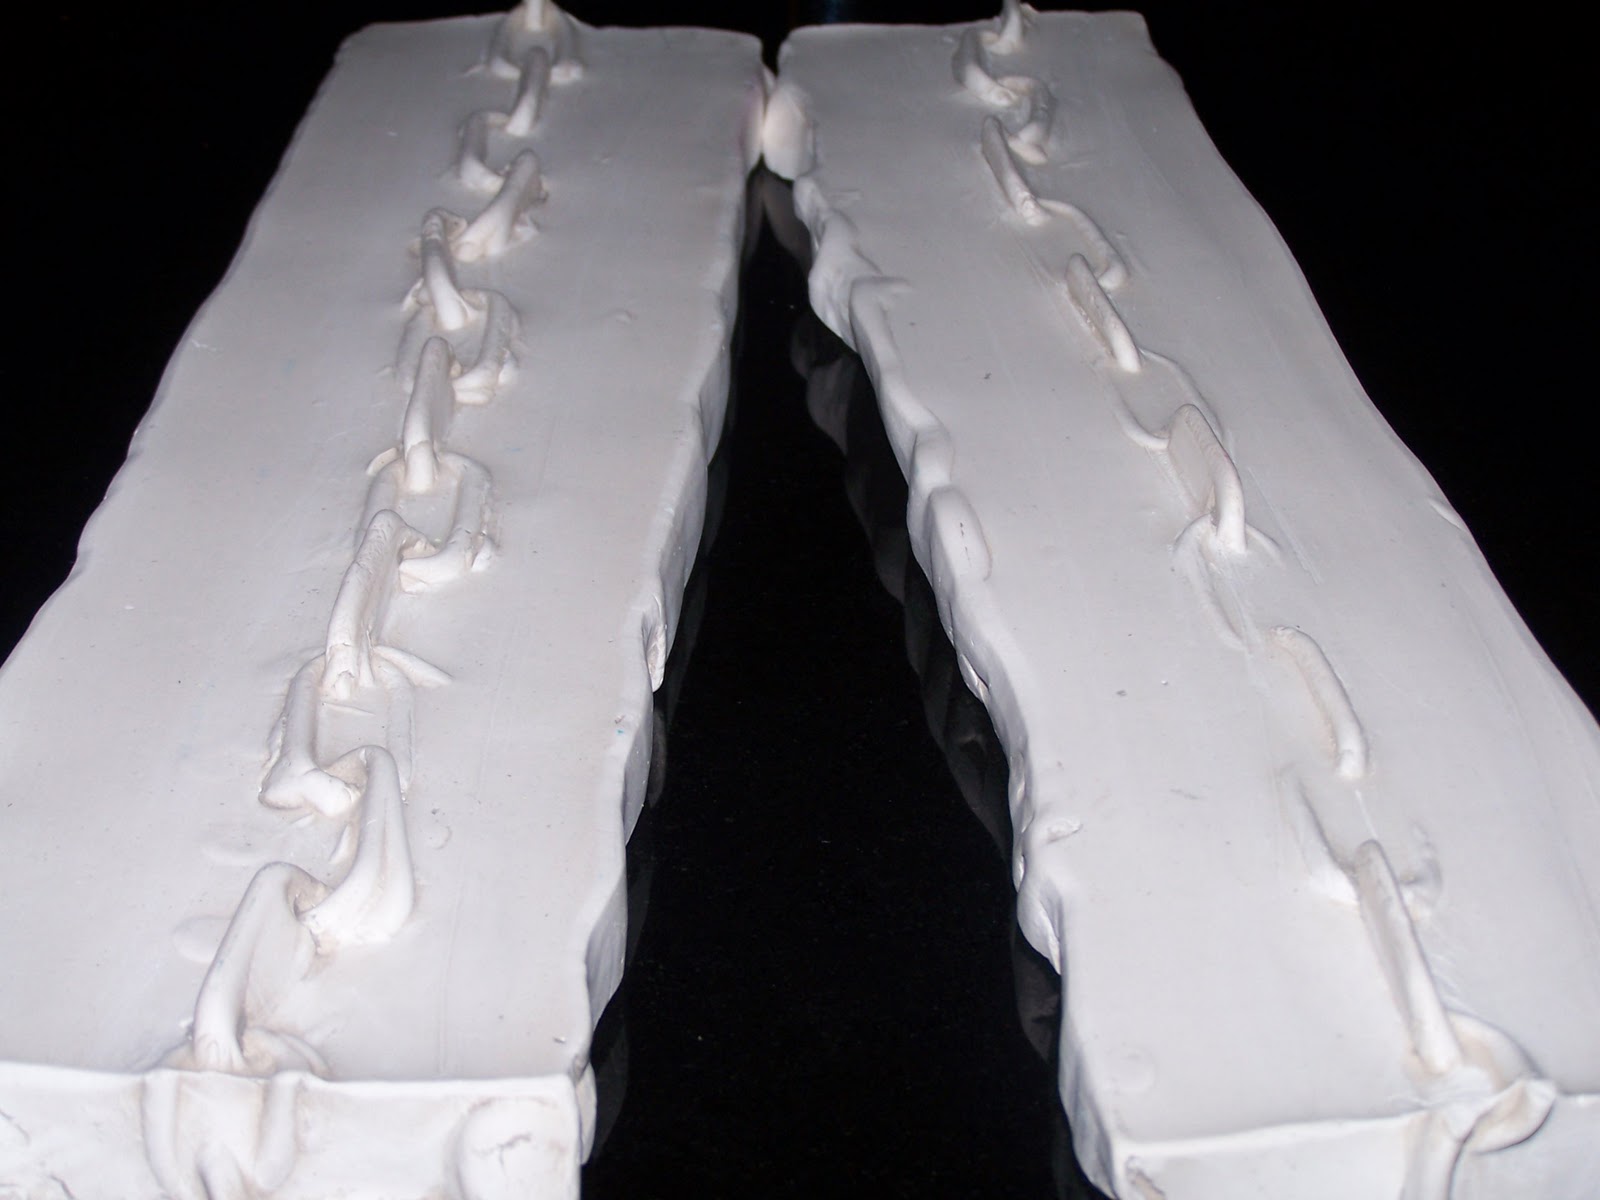
Size: 16"x4" each section
These sections of chain came out very well.  I used clay to inprint the chains and then poured plaster on top. 

Cardboard and recyclables.

Wire, cellophane and paper - using light to isolate the centre.


Collage, mixed media

Reflection -

A pretty long winded process but definetly worth it.....thanks Des!  An image is printed, oiled up and placed on a screen.  It's then put in a machine (forget what it's called) and the image is oxidised ? onto the screen.  Then it's washed down, as the water is running through the screen the image emerges.  Off to the drying press for an hour or so......mix up the inks and start the printing!  Ink is applied onto the top of the screen and dragged over the image using a squeegee forcing the ink through the screen and on to the paper beneath.   This process is repeated with each colour ink that you want to use, allowing drying time in between.

The results are great I really like the print I made - the lines are clean and sharp, the colour very vibrant which was exactly what I wanted for my image.
This is great fun but a little bit unpredictable.  An image is created by removing ink from an 'inked' up piece of acetate, dampened paper is then pressed down onto the acetate.  This produces a 'mono' or one off print.  Great fun to do but the results arn't always as expected.